The effects of COVID-19 have motivated many businesses to take an alternative approach to learning, by redesigning some of their existing face-to-face workshops into virtual workshops. Maybe you’re thinking of doing this but you’re not sure how to go about it or where to even start?
Here are our top 9 considerations to guide you in making a smooth transition when converting from face to face to virtual learning.
1. Can your team deliver a successful virtual learning experience?
Before starting to even think about the content, consider whether you have the capabilities to deliver a virtual or blended course through an inhouse L&D team or whether you would need to outsource this. The success of a virtual learning experience relies heavily on the facilitator and their understanding of the nuances and different challenges that come in a virtual learning environment.
If you have an inhouse-team, who will form a part of the team? Do they have the experience and capacity to plan and deliver it? If you don’t have an inhouse-team, you need to consider the budget you have available to outsource it. Also think about the delivery timeframes. Don’t wait too long, before approaching L&D specialists to help you with this crucial element.
2. Making the connection
To make sure that the participants get the most out of the learning experience, thorough planning needs to be done. We suggest that all the participants connect virtually, whether they are working from home or the office. Having half of the learners connecting from a training room and some from home, would influence the dynamics and limit functionality in terms of mixing up participants in breakout rooms and utilising functions like polls or Annotate.
By doing thorough planning it will set the tone and create a positive learning experience for the learner, which will lead to higher retention of knowledge and a memorable session they would want to engage in again.
3. Chunk the learning and allow for energising breaks
Ideally a full day workshop of 9 to 4 learning isn’t directly translated to the same timeframe in a virtual workshop. You need to chuck it out into 90 minutes to 3-hour sessions and if possible, stretch it out over a period of a few days. Having two-hour sessions over a period of two days, might be more effective than a four-hour session on one day. You want to be conscious of screen fatigue, which happens much faster in a virtual, than a face-to-face session.
Also make sure that you include enough small breaks and quick energiser activities, to allow the learners to get up and stretch or to go outside.
4. Allow for reflection and feedback
Just like in a face-to-face workshop, build time into your virtual workshop to give individuals time to think about insights and how to apply these lessons back on the job. This should be included in the design. Make sure that you allow enough time for this. After the reflection time, the learners can get back and share their thoughts with the group.
Getting feedback from the learners on what worked and what could be tweaked is gold, in going forward and developing these training sessions. Also make sure to set time aside after each session for a debrief with the facilitator and any other parties, for example the client, to get their thoughts and insights on what worked and what didn’t.
5. Have a support person
We strongly recommend having a support person to look after logistics to ensure a seamless experience. This will allow the facilitator to focus all their attention on the learners, the engagement and managing the learning itself. This is also beneficial if some of the learners are experiencing technical problems. The support person can connect with these learners individually, while the facilitator stays focused on the learning and continues with the session. The support person can also assist by acting as a scribe or a timekeeper during the session.
6. Keep things visual
A picture speaks a thousand words and the use of visual elements in the learning process will keep the engagement high and make learning more effective. Going virtual opens a whole range of virtual tools to explore and to include in your sessions.
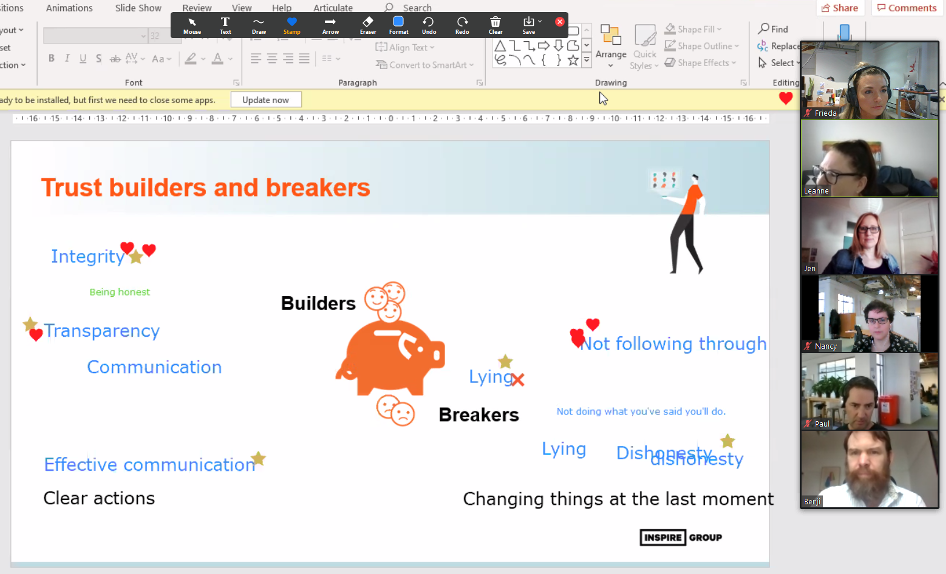
Annotate is a tool that will enable the learners to discuss and to collaborate within the document itself, such as a PDF, a PowerPoint slide or a virtual whiteboard and will be available to all the participants afterwards.
Mural is another popular tool to help keep things visual, to ensure interaction and to also manage time effectively.
There are many other tools available, we have however had great success with the tools mentioned above in the virtual sessions we have designed.
“Our visual mind never sleeps. If our eyes don’t have something interesting to look at, we will make stuff up. Then again, if we do have something interesting to look at, our mind can stay focused forever.” (Show and Tell, Dan Roam)
7. Keep things engaging - No chalk and talk
You want to avoid a “talk and chalk” situation where learners are simply talked to. Designing the learning to have several interaction opportunities will ensure learners are engaged in the process and more likely to have a positive experience and remember the content. Think about the sort of experience you want to create and identify what technology can be integrated to enhance the learning. We suggest making use of the following platforms, which contains a variety of interactions to incorporate in your sessions:
- - Chameleon authoring tool
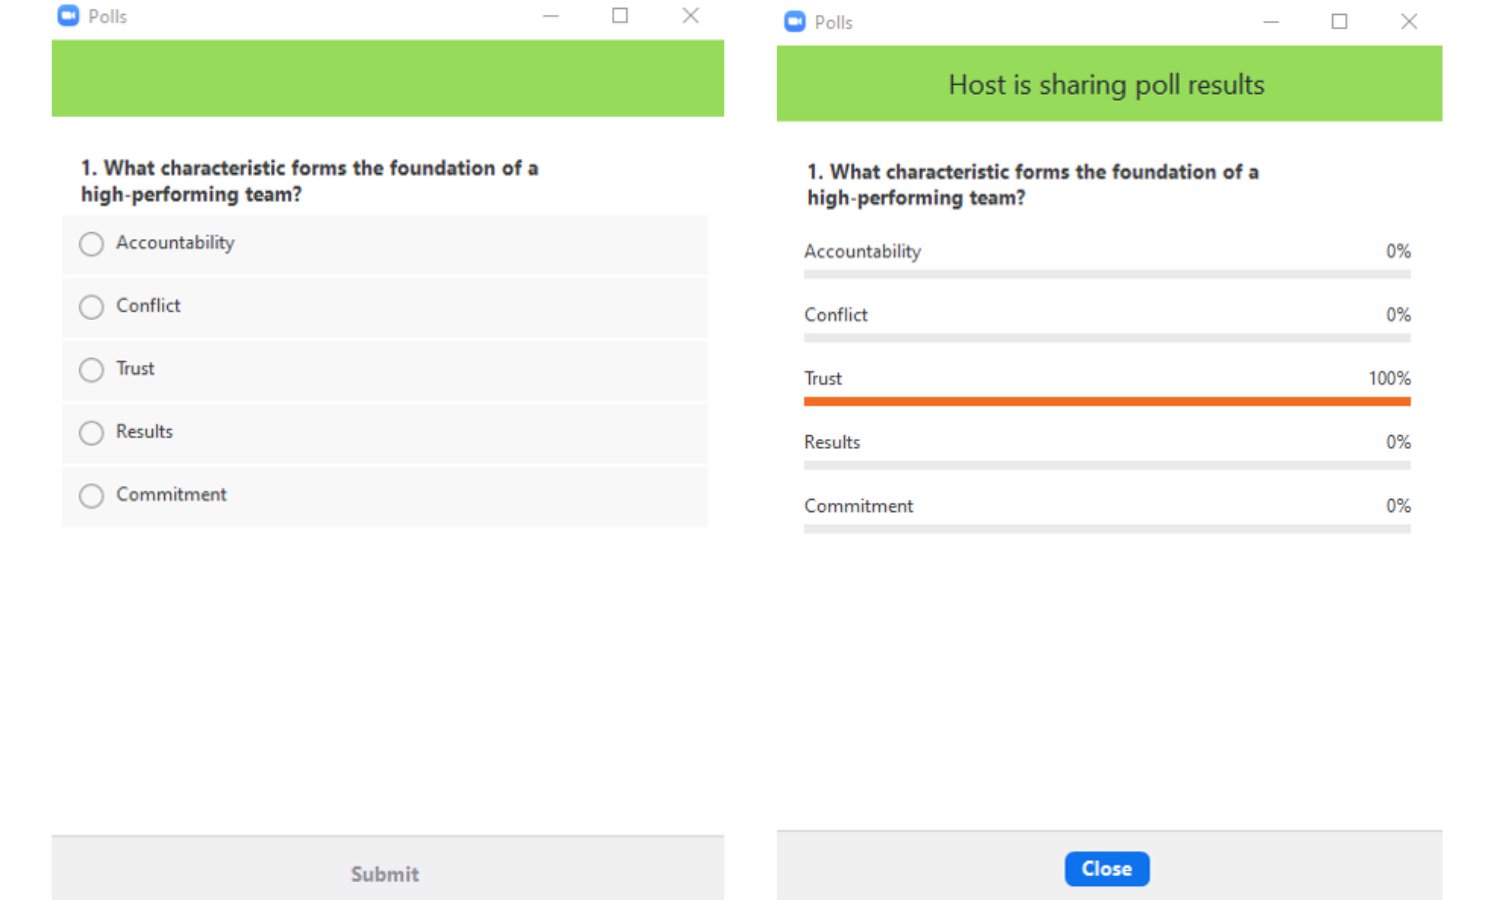
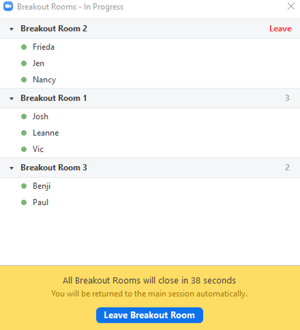
- - Zoom (Breakout rooms, Polls)
- - Microsoft Teams
- - Google Hangouts
Using these different functions, will also serve as a learning opportunity for the learners to explore and get to know these different tools. Push the creative boundaries and step out of your comfort zone. In doing this, also make sure that you have familiarised yourself with these tools first, before using it in a session, which brings us to the next important point.
8. Practice
Practice, practice, practice! Just as you would do with a face to face session, a dry run at least once or twice with the facili tator and support person is essential in creating a seamless and professional transition from face to face to virtual. Get familiar with the technology and test it out. It might be worthwhile to have a mock training session with a couple of colleagues before your first session, to get an objective viewpoint on the flow of the session, before running it with a group of learners.
9. Prepare your participants
Before the session make sure your learners know what’s expected. Send them an email or include it in the session invitation so they’re aware of the ‘hygiene factors’ that will help ensure the success of the workshop:
- - Be on time (a 10-minute delay is a lost time in a 2-hour session)
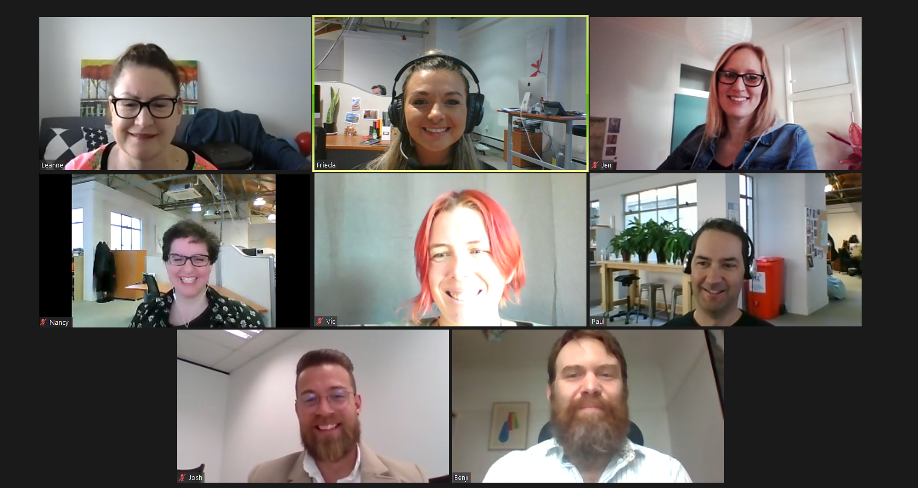
- - Be camera ready – you want everyone to visually interact with each other to make it more engaging
- - Make sure you have access to the right device (i.e. a desktop PC or laptop) and virtual platforms like a Mural board for example. We don’t recommend using a mobile phone or an iPad.
- - Test your technology before the session – check your camera and speaker and make sure that you can access any other online workshop resources
- - Have a cuppa, water, pen and notebook handy
- - As you would in a face-to-face workshop, include a short icebreaker for learners to get to know you and each other. The length of this activity will depend on the duration of the session. If it’s only a 2-3-hour one day session, set 10-15 minutes aside for this activity.
Do a quick virtual tour of the technology you’re using, to familiarise the learners with the different features and how to use them.
These two starter activities will quickly display any challenges learners are facing in terms of technology and allow the support person to address it early on.
What to read next
Top 8 tools for creating highly visual digital content yourself
We've put together this list of our favourite tools for creating more visual and engaging online learning, which complement Chameleon wonderfully and are mostly free to use. Click the image below to check it out.
View a demo
In our 10 minute recorded demo, we'll show you how to build and publish your own module.


Share this

How to make illustrations in learning work for you

Meet Business Needs Faster with Rapid Prototyping
-1.png)