
Step-by-step guide to uploading and using media in your project.
When you build out your project you can save media into your own media library for later use. You can also access our built-in free Chameleon Creator image library where you can re-colour a suite of visual assets to align to your brand. Check out our easy to follow steps below or watch our video walkthrough.
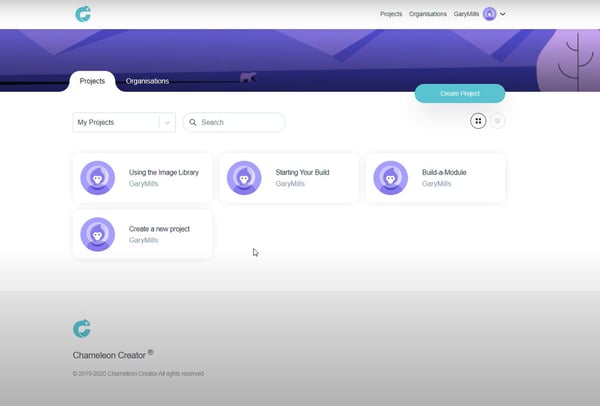
Step 1)
Open the project you wish to work on then scroll down to Assets and select the link + Open Asset Library.
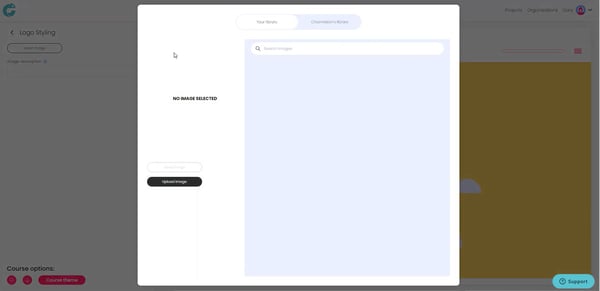
Step 2)
Hit the upload button and select any media you wish to use in your project.
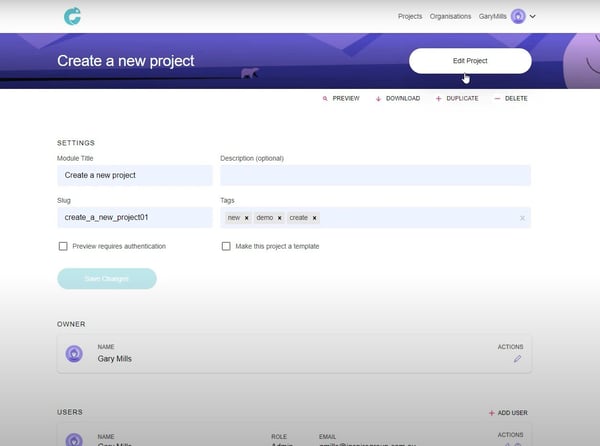
Step 3)
To start using your new media, click close to head back to your project. Scroll to the top of the page and select Edit Project.
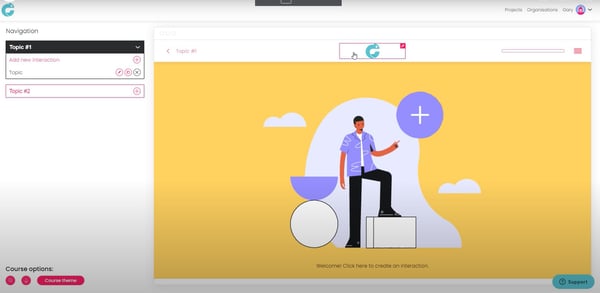
Step 4)
Once in editor mode, select the pen icon located on the top right corner of the individual assets featured in the module e.g. Logo.
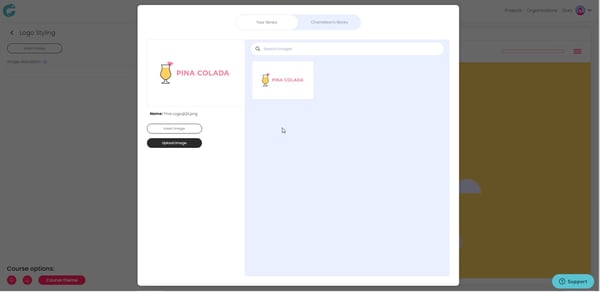
Step 5)
Select the media you want to use from your library and hit insert image.
To learn how to customise your theme to match your brand click here, or to head back to the knowledge base click here.